Organization Hierarchy
This section allows to configure your Organization's Hierarchy. It includes configuring the details of :
You can also change the group headings to your choice.
This information can be further used to filter data on various criteria.
Screen Layout of Company

Field Description of Company
A list of existing Companies is displayed. In case not a single Company has been added yet, this list will be blank.
Click on Add button on the right side of the screen to add a Company or  icon next to the Company name to edit that Company. Following screen will be displayed -
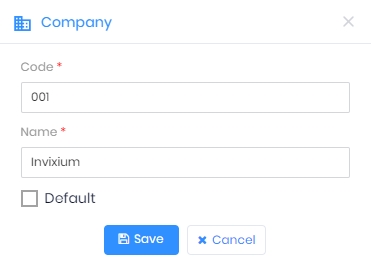
Code:
It denotes the Company Code.
While adding a new Company, the box is blank. Enter the Code of the Company. It should be a unique Code.
While editing a Company, Code of the selected Company is displayed in the box. You can change the Code. The new Code should be unique.
Name:
It denotes the Company Name.
While adding a new Company, the box is blank. Enter the Name of the Company.
While editing a Company, Name of the selected Company is displayed in the box. You can change the Name.
Default
It denotes whether the Company is a default Company or not.
Click on the checkbox to enable or disable the feature. A check mark in the box indicates the Company as default.
Once entered, click on Save button to save the details. As a result, the application will show a success message and the Company will be added / updated in the list of Companies.
Click on OK button. Click on Cancel button to discard the action.
Click on Delete button on the right side of the screen and select either Selected option to deleted particular Companies or All option to delete all Companies.
To delete particular Companies, you need to first select those Companies by clicking on them. Select multiple Companies either by using <Ctrl> + <Single-click> or <Shift> + <Single-click>.
The application will display a confirmation message. Click on Delete button to delete the selected Company or Cancel button to discard the action.
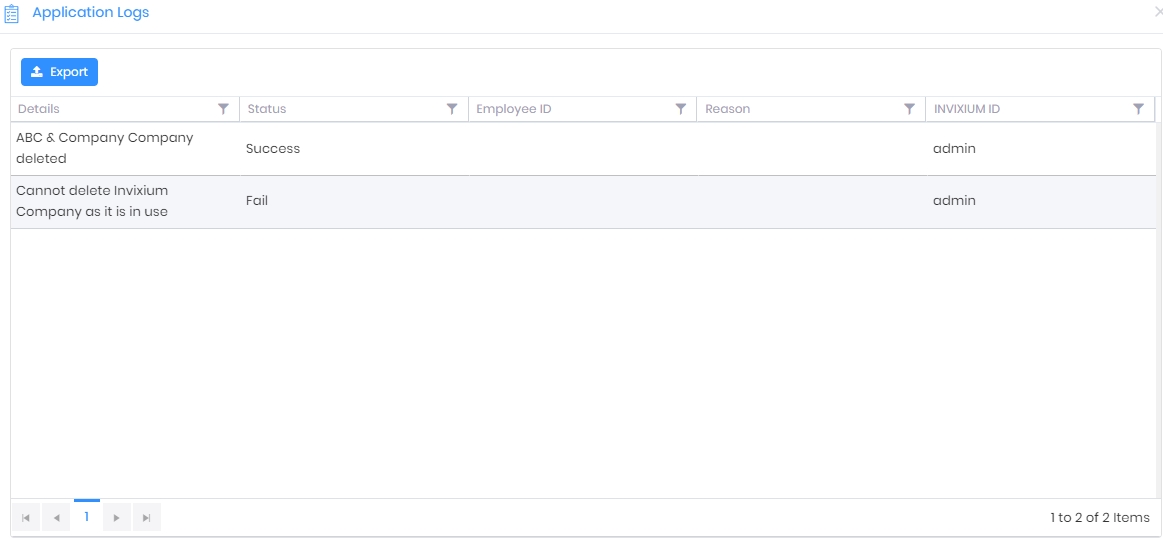
Upon completion, the application will display a success or failure status message as follows -
|
NOTE A Company can not be deleted if it is linked with an Employee. To delete such a Company, first remove the link between that Company and its Employees.
|
Screen Layout of Branch

Field Description of Branch
A list of existing Branches is displayed. In case not a single Branch has been added yet, this list will be blank.
Click on Add button on the right side of the screen to add a Branch or icon next to the Branch name to edit that Branch. Following screen will be displayed -
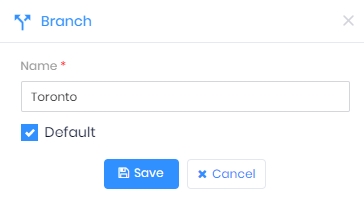
Name:
It denotes the Branch Name.
While adding a new Branch, the box is blank. Enter the Name of the Branch. It should be unique.
While editing a Branch, Name of the selected Branch is displayed in the box. You can change the Name. The new Name should be unique.
Default
It denotes whether the Branch is a default Branch or not.
Click on the checkbox to enable or disable the feature. A check mark in the box indicates the Branch as default.
Once entered, click on Save button to save the details. As a result, the application will show a success message and the Branch will be added / updated in the list of Branches.
Click on OK button. Click on Cancel button to discard the action.
Click on Delete button on the right side of the screen and select either Selected option to deleted particular Branch or All option to delete all Branches.
To delete particular Branches, you need to first select those Branches by clicking on them. Select multiple Branches either by using <Ctrl> + <Single-click> or <Shift> + <Single-click>.
The application will display a confirmation message. Click on Delete button to delete the selected Branches or Cancel button to discard the action.
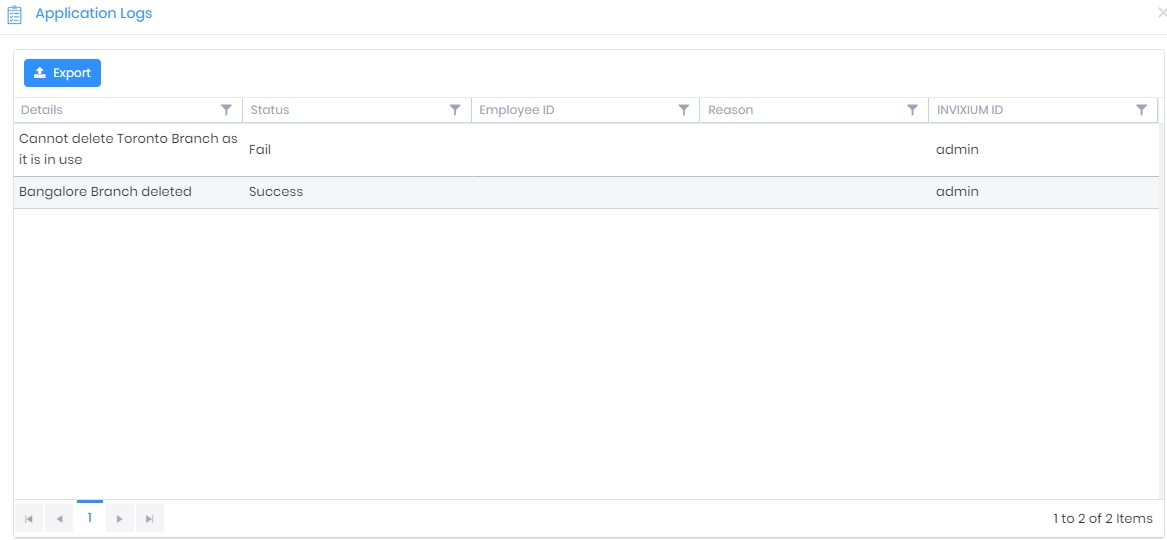
Upon completion, the application will display a success or failure status message as follows -
|
NOTE A Branch can not be deleted if it is linked with an Employee. To delete such a Branch, first remove the link between that Branch and its Employees.
|
Screen Layout of Department

Field Description of Department
A list of existing Departments is displayed. In case not a single Department has been added yet, this list will be blank.
Click on Add button on the right side of the screen to add a Department or icon next to the Department name to edit that Department. Following screen will be displayed -
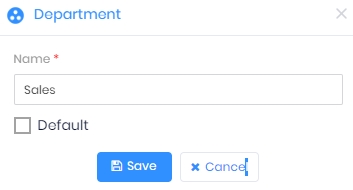
Name:
It denotes the Department Name.
While adding a new Department, the box is blank. Enter the Name of the Department. It should be unique.
While editing a Department, Name of the selected Department is displayed in the box. You can change the Name. The new Name should be unique.
Default
It denotes whether the Department is a default Department or not.
Click on the checkbox to enable or disable the feature. A check mark in the box indicates the Department as default.
Once entered, click on Save button to save the details. As a result, the application will show a success message and the Department will be added / updated in the list of Departments.
Click on OK button. Click on Cancel button to discard the action.
Click on Delete button on the right side of the screen and select either Selected option to deleted particular Department or All option to delete all Departments.
To delete particular Departments, you need to first select those Departments by clicking on them. Select multiple Departments either by using <Ctrl> + <Single-click> or <Shift> + <Single-click>.
The application will display a confirmation message. Click on Delete button to delete the selected Departments or Cancel button to discard the action.
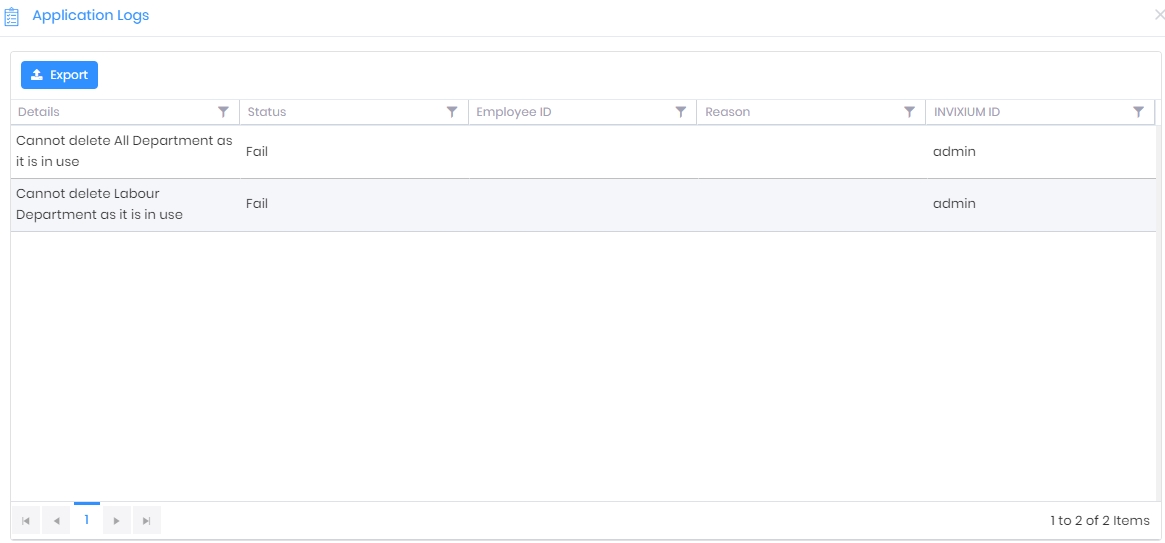
Upon completion, the application will display a success or failure status message as follows -
|
NOTE A Department can not be deleted if it is linked with an Employee. To delete such a Department, first remove the link between that Department and its Employees.
|
Screen Layout of Location

Field Description of Location
A list of existing Locations is displayed. In case not a single Location has been added yet, this list will be blank.
Click on Add button on the right side of the screen to add a Location or icon next to the Location name to edit that Location. Following screen will be displayed -
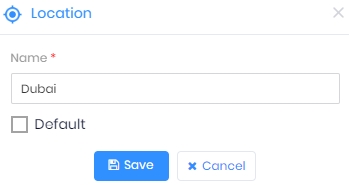
Name:
It denotes the Location Name.
While adding a new Location, the box is blank. Enter the Name of the Location. It should be unique.
While editing a Location, Name of the selected Location is displayed in the box. You can change the Name. The new Name should be unique.
Default
It denotes whether the Location is a default Location or not.
Click on the checkbox to enable or disable the feature. A check mark in the box indicates the Location as default.
Once entered, click on Save button to save the details. As a result, the application will show a success message and the Location will be added / updated in the list of Locations.
Click on OK button. Click on Cancel button to discard the action.
Click on Delete button on the right side of the screen and select either Selected option to deleted particular Location or All option to delete all Locations.
To delete particular Locations, you need to first select those Locations by clicking on them. Select multiple Locations either by using <Ctrl> + <Single-click> or <Shift> + <Single-click>.
The application will display a confirmation message. Click on Delete button to delete the selected Locations or Cancel button to discard the action.
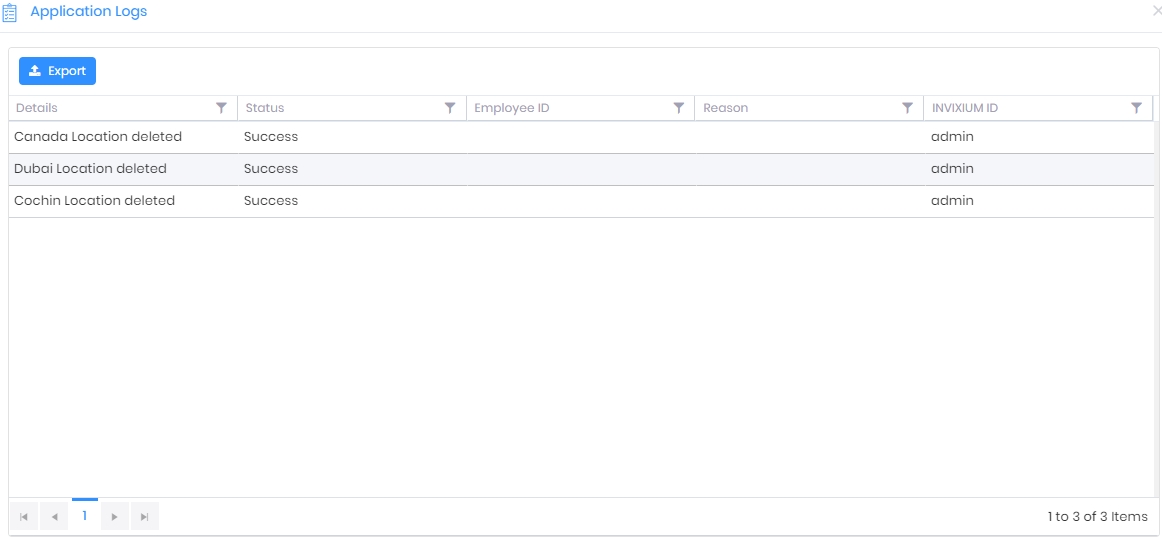
Upon completion, the application will display a success or failure status message as follows -
|
NOTE A Location can not be deleted if it is linked with an Employee. To delete such a Location, first remove the link between that Location and its Employees.
|
Screen Layout of Designation

Field Description of Designation
A list of existing Designations is displayed. In case not a single Designation has been added yet, this list will be blank.
Click on Add button on the right side of the screen to add a Designation or icon next to the Designation name to edit that Designation. Following screen will be displayed -
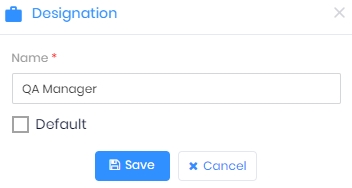
Name:
It denotes the Designation Name.
While adding a new Designation, the box is blank. Enter the Name of the Designation. It should be unique.
While editing a Designation, Name of the selected Designation is displayed in the box. You can change the Name. The new Name should be unique.
Default
It denotes whether the Designation is a default Designation or not.
Click on the checkbox to enable or disable the feature. A check mark in the box indicates the Designation as default.
Once entered, click on Save button to save the details. As a result, the application will show a success message and the Designation will be added / updated in the list of Designations.
Click on OK button. Click on Cancel button to discard the action.
Click on Delete button on the right side of the screen and select either Selected option to deleted particular Designation or All option to delete all Designations.
To delete particular Designations, you need to first select those Designations by clicking on them. Select multiple Designations either by using <Ctrl> + <Single-click> or <Shift> + <Single-click>.
The application will display a confirmation message. Click on Delete button to delete the selected Designations or Cancel button to discard the action.
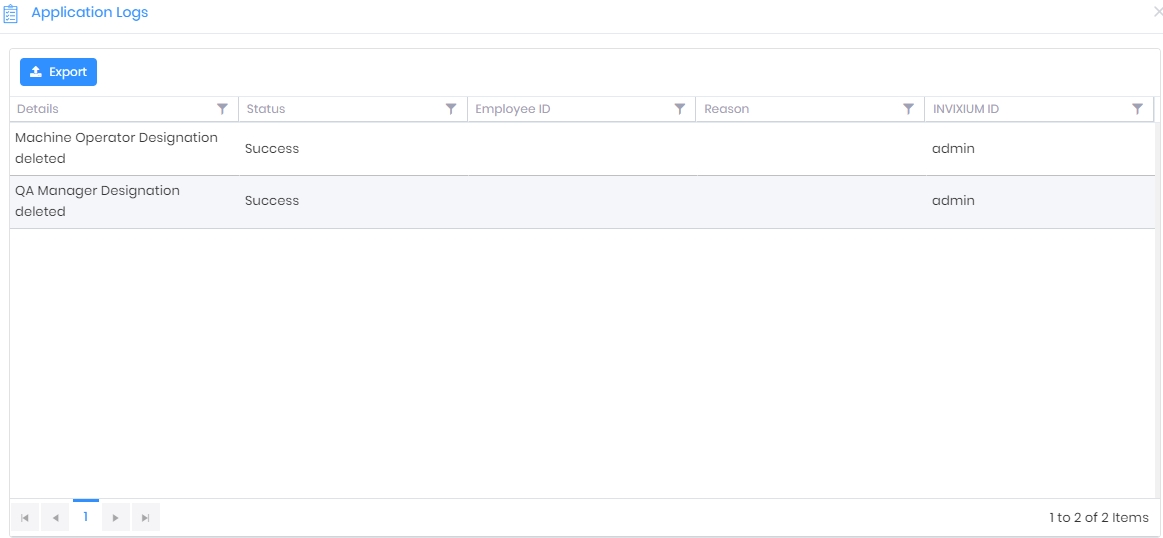
Upon completion, the application will display a success or failure status message as follows -
|
NOTE A Designation can not be deleted if it is linked with an Employee. To delete such a Designation, first remove the link between that Designation and its Employees.
|
Screen Layout of Section

Field Description of Section
A list of existing Sections is displayed. In case not a single Section has been added yet, this list will be blank.
Click on Add button on the right side of the screen to add a Section or icon next to the Section name to edit that Section. Following screen will be displayed -
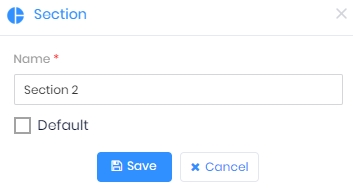
Name:
It denotes the Section Name.
While adding a new Section, the box is blank. Enter the Name of the Section. It should be unique.
While editing a Section, Name of the selected Section is displayed in the box. You can change the Name. The new Name should be unique.
Default
It denotes whether the Section is a default Section or not.
Click on the checkbox to enable or disable the feature. A check mark in the box indicates the Section as default.
Once entered, click on Save button to save the details. As a result, the application will show a success message and the Section will be added / updated in the list of Sections.
Click on OK button. Click on Cancel button to discard the action.
Click on Delete button on the right side of the screen and select either Selected option to deleted particular Section or All option to delete all Sections.
To delete particular Sections, you need to first select those Sections by clicking on them. Select multiple Sections either by using <Ctrl> + <Single-click> or <Shift> + <Single-click>.
The application will display a confirmation message. Click on Delete button to delete the selected Sections or Cancel button to discard the action.
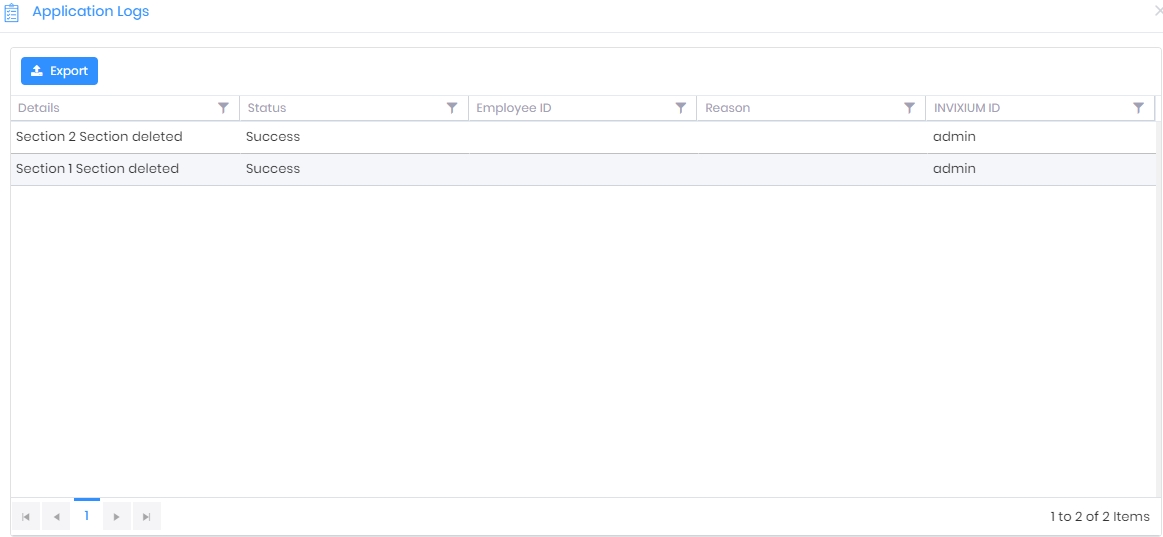
Upon completion, the application will display a success or failure status message as follows -
|
NOTE A Section can not be deleted if it is linked with an Employee. To delete such a Section, first remove the link between that Section and its Employees.
|
Screen Layout of Work Location

Field Description of Work Location
A list of existing Work Locations is displayed. In case not a single Work Location has been added yet, this list will be blank.
Click on Add button on the right side of the screen to add a Work Location or icon next to the Work Location name to edit that Work Location. Following screen will be displayed -
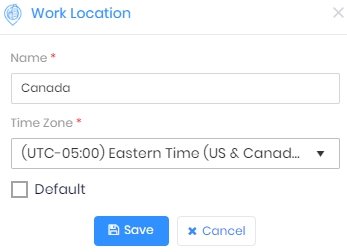
Name:
It denotes the Work Location Name.
While adding a new Work Location, the box is blank. Enter the Name of the Work Location. It should be unique.
While editing a Work Location, Name of the selected Work Location is displayed in the box. You can change the Name. The new Name should be unique.
Time Zone:
It denotes the Time Zone of the Work Location.
Select the appropriate Time Zone for the Work Location from the dropdown list.
Default
It denotes whether the Work Location is a default Work Location or not.
Click on the checkbox to enable or disable the feature. A check mark in the box indicates the Work Location as default.
Once entered, click on Save button to save the details. As a result, the application will show a success message and the Work Location will be added / updated in the list of Work Locations.
Click on OK button. Click on Cancel button to discard the action.
Click on Delete button on the right side of the screen and select either Selected option to deleted particular Work Location or All option to delete all Work Locations.
To delete particular Work Locations, you need to first select those Work Locations by clicking on them. Select multiple Work Locations either by using <Ctrl> + <Single-click> or <Shift> + <Single-click>.
The application will display a confirmation message. Click on Delete button to delete the selected Work Locations or Cancel button to discard the action.
Upon completion, the application will display a success or failure status message as follows -
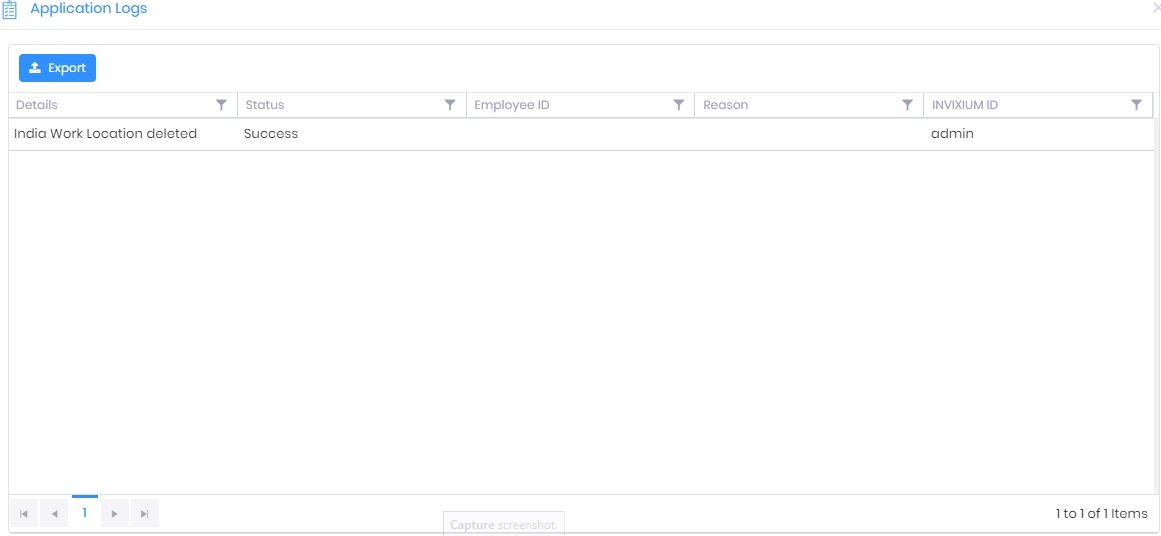
|
NOTE A Work Location can not be deleted if it is linked with an Employee. To delete such a Work Location, first remove the link between that Work Location and its Employees.
|
Screen Layout of Rename

Field Description of Rename
This section allows to rename the group headings as per your choice. Once a group heading is changed and saved, it will be displayed in the respective tab.
Company:
By default "Company" is displayed. You can change it.
Location:
By default "Location" is displayed. You can change it.
Branch:
By default "Branch" is displayed. You can change it.
Department:
By default "Department" is displayed. You can change it.
Designation:
By default "Designation" is displayed. You can change it.
Section:
By default "Section" is displayed. You can change it.
Work Location:
By default "Work Location" is displayed. You can change it.
Once you have entered all the details, click on Save button to save details in the IXM WEB database.